These instructions will help you create a PDF handout from a Powerpoint presentation which can be uploaded for printing
UniPrint’s online ordering system will generally convert most PowerPoint files into a PDF for printing. However, we always recommend that you convert the files first and upload the PDFs that you have already checked.
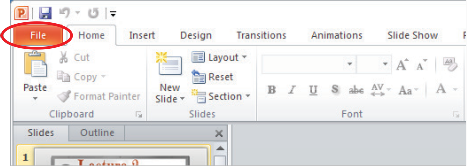
To create the PDF go to your PowerPoint presentation, and select the File tab.
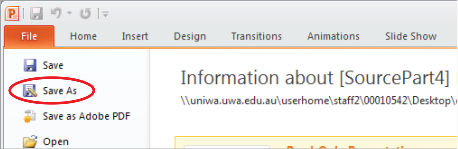
Click on ‘Save As’.
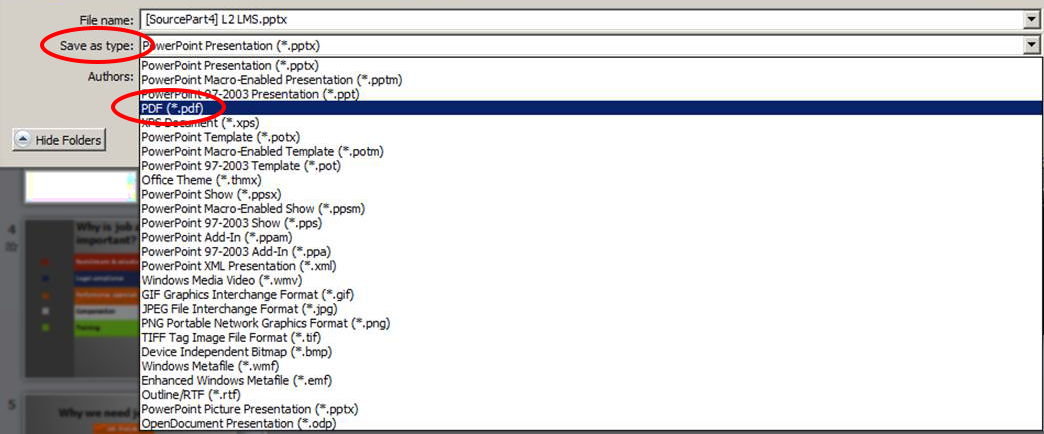
In the drop down menu ‘Save as type’ select PDF (*.pdf).
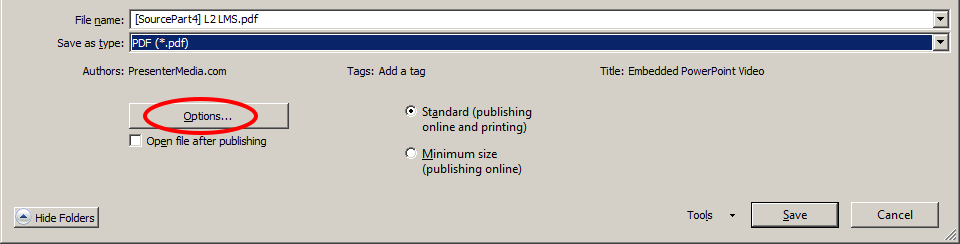
Before clicking ‘Save’, select the ‘Options’ button.
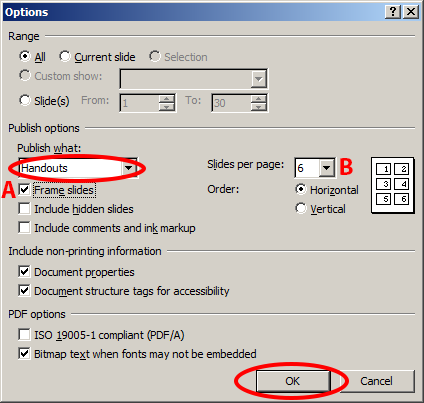
In the drop down menu under ‘Publish what:’ select Handouts.
You can choose to have a border on the slides by selecting ‘Frame slides’ (A).
You can also choose how many slides per page you would like (B).
Once you have made your selections, click OK.
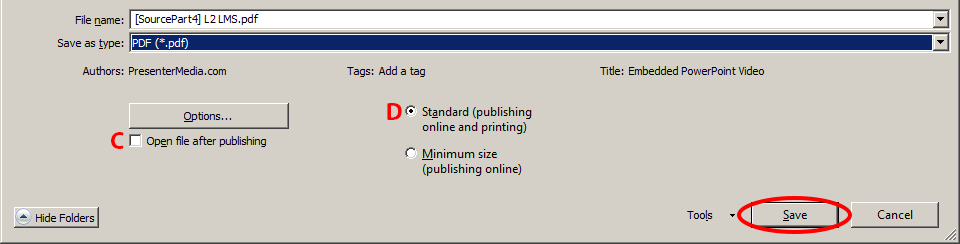
If you would like the pdf file to open automatically after it has been created, tick the box ‘Open file after publishing’ (C). You can then check that everything is as you expected it before uploading to print.
As the pdf will be printed, select the ‘Standard (publishing online and printing)’ option (D).
Click ‘Save’. This will then create a pdf handout from your Powerpoint slides which can then be uploaded to print via UniPrint’s online ordering system.
If you have selected the ‘Slides per page’ option when creating the PDF, you do not need to select that option in the online ordering system workflow.